Vertabelo’s new SQL Script tool lets you write and save SQL scripts and run them against a connected database.
Creating an SQL Script
Start by clicking on the Create Document button. It’s the first one on the main toolbar.

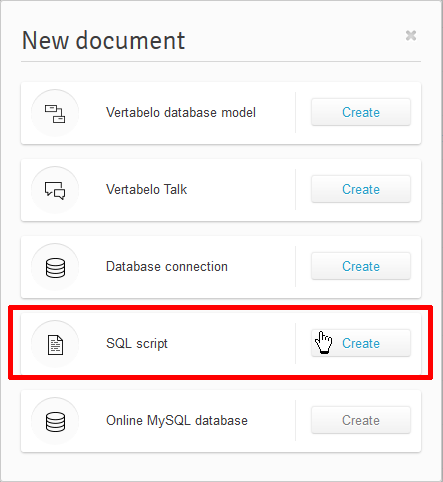
The New Document window appears. Now select SQL script and click on the Create button.
The New SQL script window will be displayed.
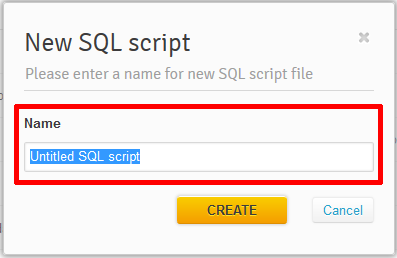
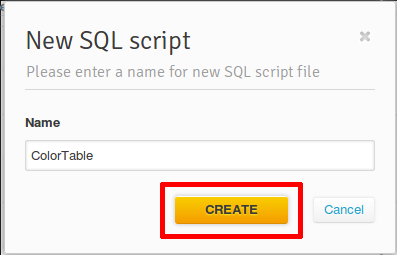
Name your script using the Name field and click the CREATE button.
Your new script will be opened in the workspace as empty file.
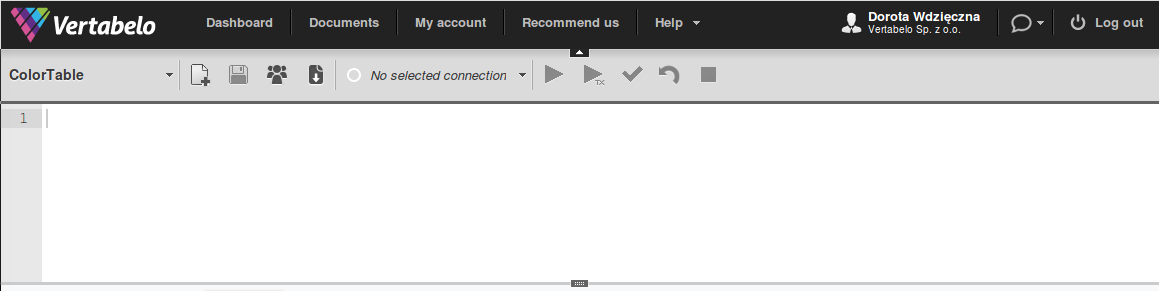
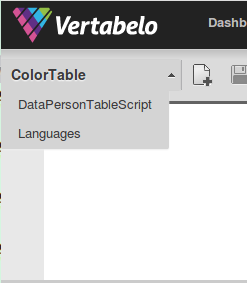
The name of your script is visible in the top left corner of the toolbar. You can see a list of all your scripts by clicking on the drop-down menu arrow to the right of the current script name.
SQL Editor Features
SQL Editor provides some useful text-editing features, including highlighting syntax and numbering the lines in your code. It also supports keyboard shortcuts and standard file tools.
Keyboard Shortcuts
The following table contains a list of the main keyboard shortcuts available in SQL Editor.
| Shortcut | Description |
|---|---|
| Ctrl+A | Select all text |
| Ctrl+C | Copy selected text |
| Ctrl+V | Paste text at cursor |
| Ctrl+X | Cut selected text |
| Ctrl+Z | Undo |
| Ctrl+Y | Redo |
| Ctrl+Backspace | Delete the word to the left of the cursor |
| Ctrl+Delete | Delete the word to the right of the cursor |
| Ctrl+Home | Set cursor at the beginning of code |
| Ctrl+End | Set cursor at the end of the code |
| Home | Set cursor at the beginning of current line |
| End | Set cursor at the end of current line |
| Shift+Page Down | Select text below the cursor |
| Shift+Page Up | Select text above the cursor |
You can also double click on a word to highlight all occurrences of that word in your code.
File Tools
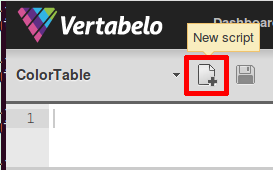
All available File Tools are shown next to the name of current script.
The New script button allows you to create a new script.
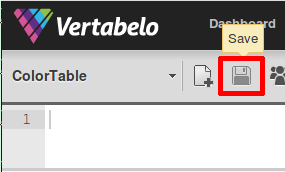
You can save the current script by clicking on the Save button.
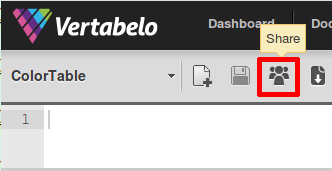
You can share your file using the Share button.
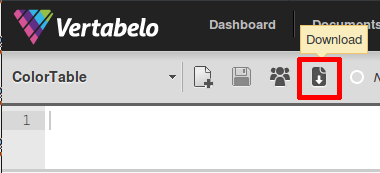
The Download button allows you to download your file to the current workstation.
Running Queries From the SQL Editor
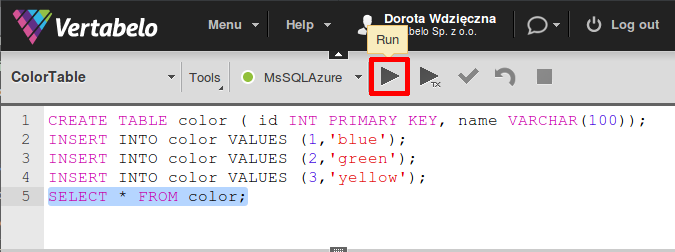
The SQL Editor allows you to run your query against a database connection. First, you must set the connection by selecting a database from the drop-down list (MS SQL Azure is shown in the example below).
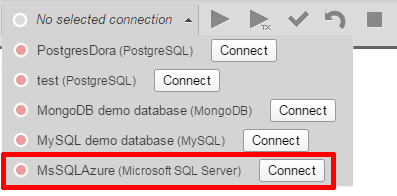
If there is a green circle next to the database name, you have successfully connected. If there is no connection to that database, you’ll see a grey circle.
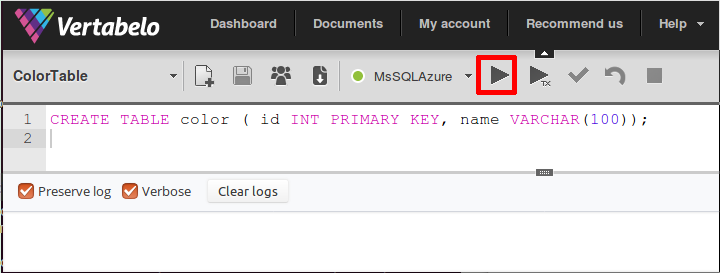
Once you have connected, simply type your query into the editor and click Run, as shown above.
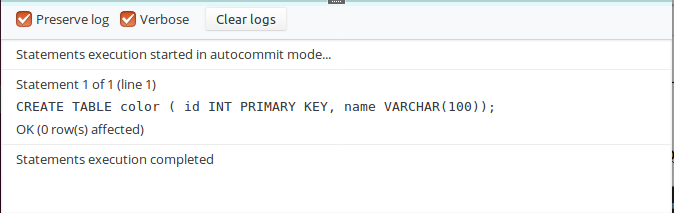
After the query is executed, a notification will be displayed in the Logs window, located at the bottom of the Script Editor.
Transactions
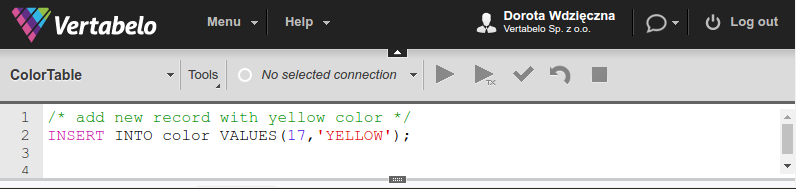
You can also run transactions in the SQL Editor – one way is to simply write the code and run it using the Run button, just like a regular query.
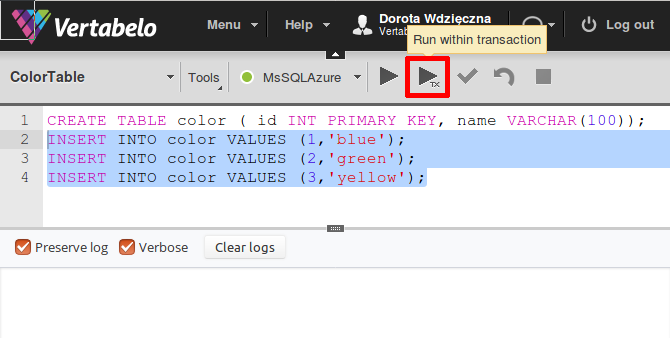
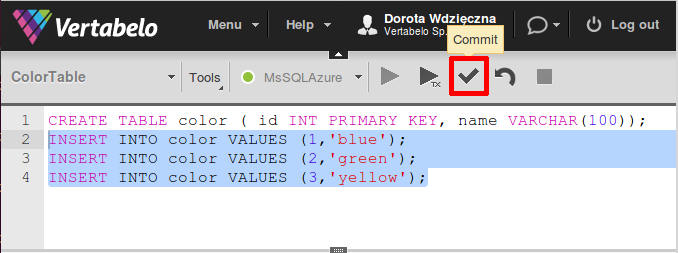
However, the SQL Editor also has a helpful Run within transaction button that launches code as a transaction. This lets you write regular queries that you can run as transactions.
Let’s use the following code snippet to demonstrate. We can select these lines and run them as transaction by clicking the Run with transaction button.
BEGIN TRANSACTION;
		INSERT INTO color VALUES(1,’blue’);
		INSERT INTO color VALUES(2,’green’);
		INSERT INTO color VALUES(3,’red’);
	COMMIT;
The Logs window provides information about the progress of the transaction.

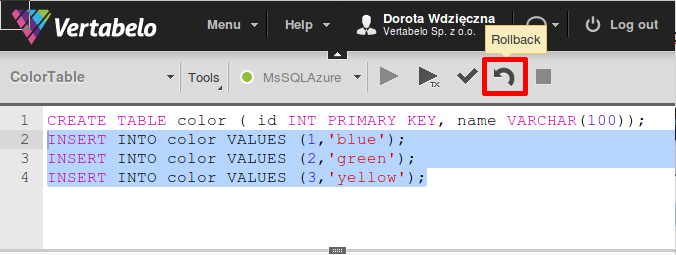
You can click the Next button to commit the transaction or the Rollback button to cancel it.
Let's rollback this transaction.
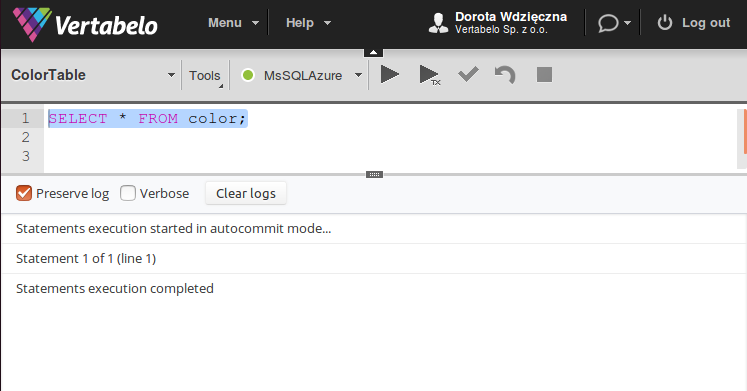
We use a SELECT statement, followed by a click of the Run button, to test if data is in the table.
There are no records in the table. This is what we’d expect because the code was run as a transaction and then rolled back. Now we’ll run the same transaction and commit it.
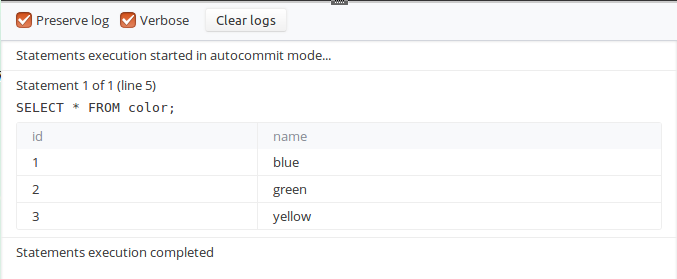
After the transaction was committed, data was stored in the table. Let’s try that SELECT again. The result is shown in the Logs window:
You can stop an ongoing transaction at any time. Just press the Stop button.

The Logs Window
The Logs window displays query results, error messages, and information about the status of various user actions. Below we see an error message.

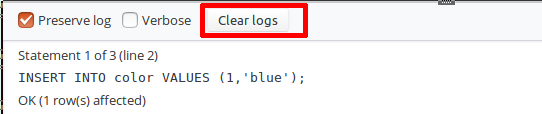
The Logs window has two options: Preserve log and Verbose. The Preserve log shows all the messages from this session. The Verbose box controls the length of the Logs message. By default, the Verbose box is checked. If you choose to uncheck it, log messages will be shorter and less detailed. You can also uncheck the Preserve log box if you don’t want a record of all messages.
You can clear all logs by pressing the Clear logs button.