

How often have you wondered about the structure of an existing database? It could be a 5-year-old legacy system or a brand-new open-source project. Let’s take a look at the ERD diagram of the database behind the most famous content management system: WordPress.
What Is WordPress and How Does It Work?
WordPress is an open-source CMS (content management system) that was initially released in 2003. It started out as a blogging platform, but it has developed so much that today it can be used for almost anything.
Because WordPress is an open source project, many developers have expanded its functionalities over the years. Thousands of widgets, themes, and plugins developed for WordPress can be found. So, as WordPress.org states, “WordPress is limited only by your imagination. (And tech chops.)” Behind the scenes, PHP server-side scripting language and MySQL database provide the power.
For the purpose of this article I have installed WordPress locally following these steps:
- I downloaded and installed WampServer, a Windows web development environment for Apache, PHP and MySQL (Note: The correct flavor(s) of Visual C++ Redistributable must be installed first). This step mostly involved clicking the “Next” button.
- Next, I created a MySQL database named “wordpress_database” using phpMyAdmin; of course, you can choose any name and later reference to it.
- I finished by downloading and installing the actual WordPress program. Again, this was mostly clicking “Next”.
During WordPress installation, you’ll be asked to provide a username, the name of the database WordPress will use, and the connection details. You must provide the name of an existing MySQL database. Also, you can choose the prefix that will be used for naming tables within the database. (I chose “wp_”.) Starting table names with a prefix is a common practice in MySQL. If everything goes well, a random password will be generated for your project and you can log in. After you log in, you’ll see the WordPress dashboard, which looks like this:
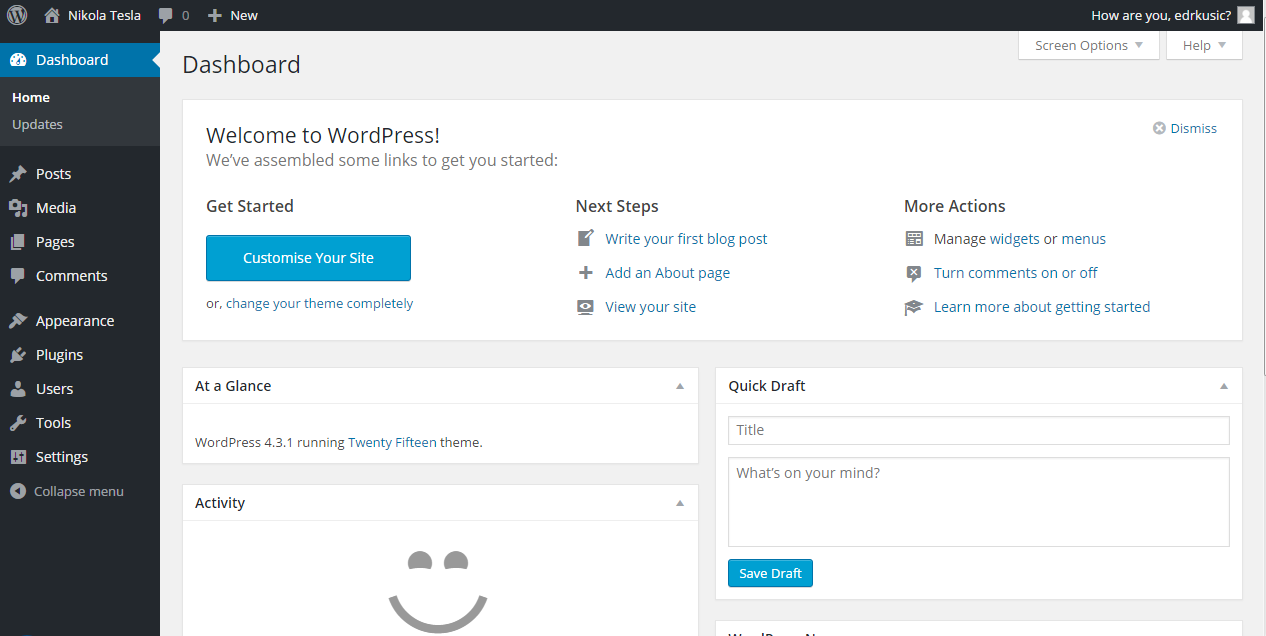
We won’t talk more about WordPress options because they’re not related to database design. There are tons of materials online – and in books, of course; read books ☺ – that cover these topics pretty thoroughly.
The WordPress Export / Import Process
Our next step is to look at the MySQL database that is behind our WordPress page. To do so, we have to open phpMyAdmin. The main screen is shown below.
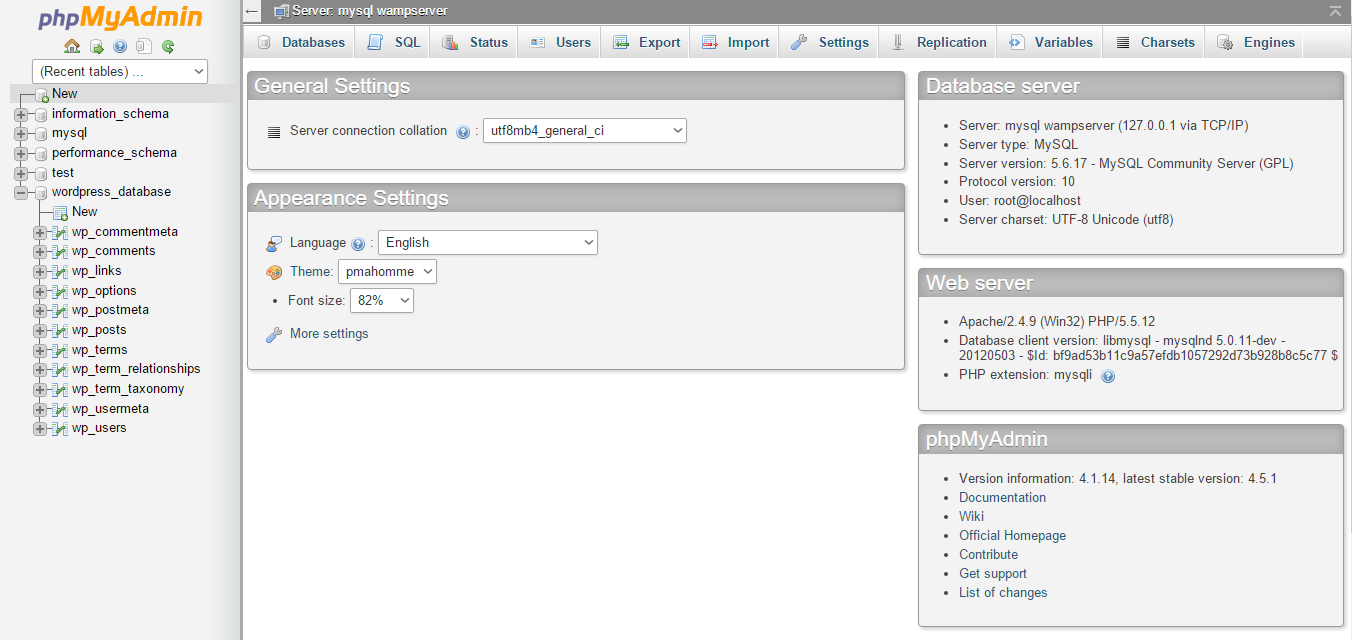
On the left side of the screen, you can see the database named “wordpress_database” with its table list expanded. Note that all tables have the “wp_” prefix. The next step is to export the database structure from phpMyAdmin and import it into Vertabelo.
To do that, use the “Export” button, then select the “Custom” export method. Choose the database name you want to export and select its structure under Format-specific options. In this case, a SQL file with DDL statements will be created and saved on the disk.
After that, log in to Vertabelo.com and import your SQL file into the new database model. In the dashboard, click the “CREATE NEW MODEL” button. Fill the “Model name” textbox with the desired Vertabelo model name and choose MySQL 5.5 in the “Database engine” list.
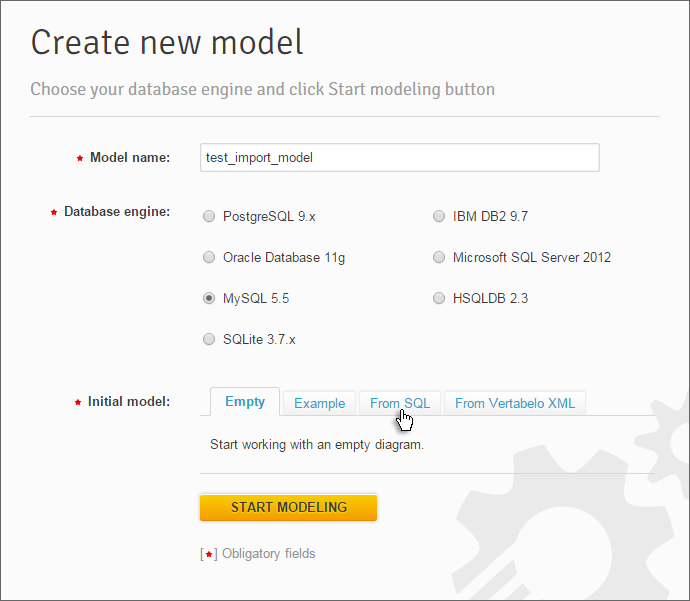
In most cases, we want to start with a blank database, which clicking the “START MODELING” button will do. But in this case, we want to use an existing SQL file. To achieve that we must:
- Select “From SQL” in the “Initial model” section.
- Click the “Choose file” button and retrieve the file from our computer using the “Browse” button.
- Click the “Import SQL” button.
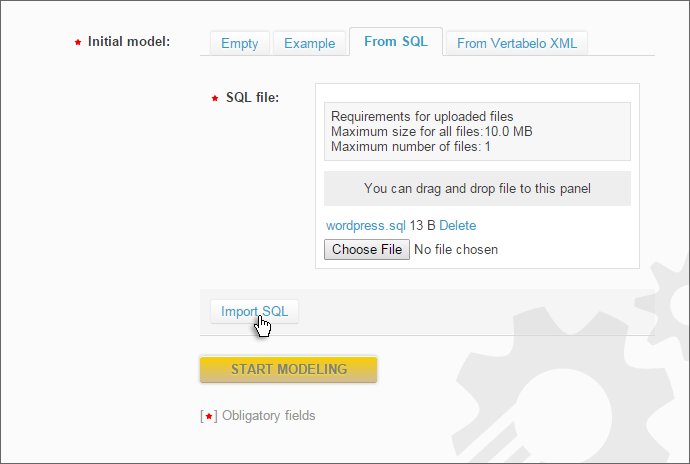
If everything went fine, you’ll see “The model was imported successfully”. Also, the “START MODELING” button will be enabled. Click it and start using your existing model.
We can now add new features, or we can simply be proud of ourselves and our tastefully-displayed database design. Remember, that picture is worth a thousand words!
At this point, the model will open in Vertabelo and finally we’ll see our tables – and not just as SQL code. We’ll get something like this (I have rearranged the tables a little):
The first thing we’ll notice is the absence of relations between the tables. That is because standard WordPress installation doesn’t enforce referential integrity. WordPress uses the MyISAM storage engine, which gives more functionality and better performance but does not support foreign keys.
For the purpose of this article, I created an empty WordPress project and the only thing I can see is a blank page. It may sound silly, but that’s enough to explore the WordPress database model. No matter how complicated a WordPress site is, it always uses the same tables. Using the same core code and meta fields gives WordPress enough flexibility to run sites no matter how different their function, design, or style is.
There’s Still More WordPress to See
We’ve made WordPress our example because it is widely used and well-known for its simplicity. However, we could have used any other CMS or any other project that has a database behind it. I bet you can think of many situations where you would like to move your existing database project into a database design tool. Vertabelo offers the option to import previously-designed models and continue working on them within the system. During the formation of this article, I used Import from the file with the DDL statements.
In our next article, we’ll establish relations between tables and take a closer look at the table definitions. In the meantime, feel free to share your ideas and feedback in the comments section below.
