Main toolbar
In the main toolbar you can find all of the tools you may need to edit your database model.
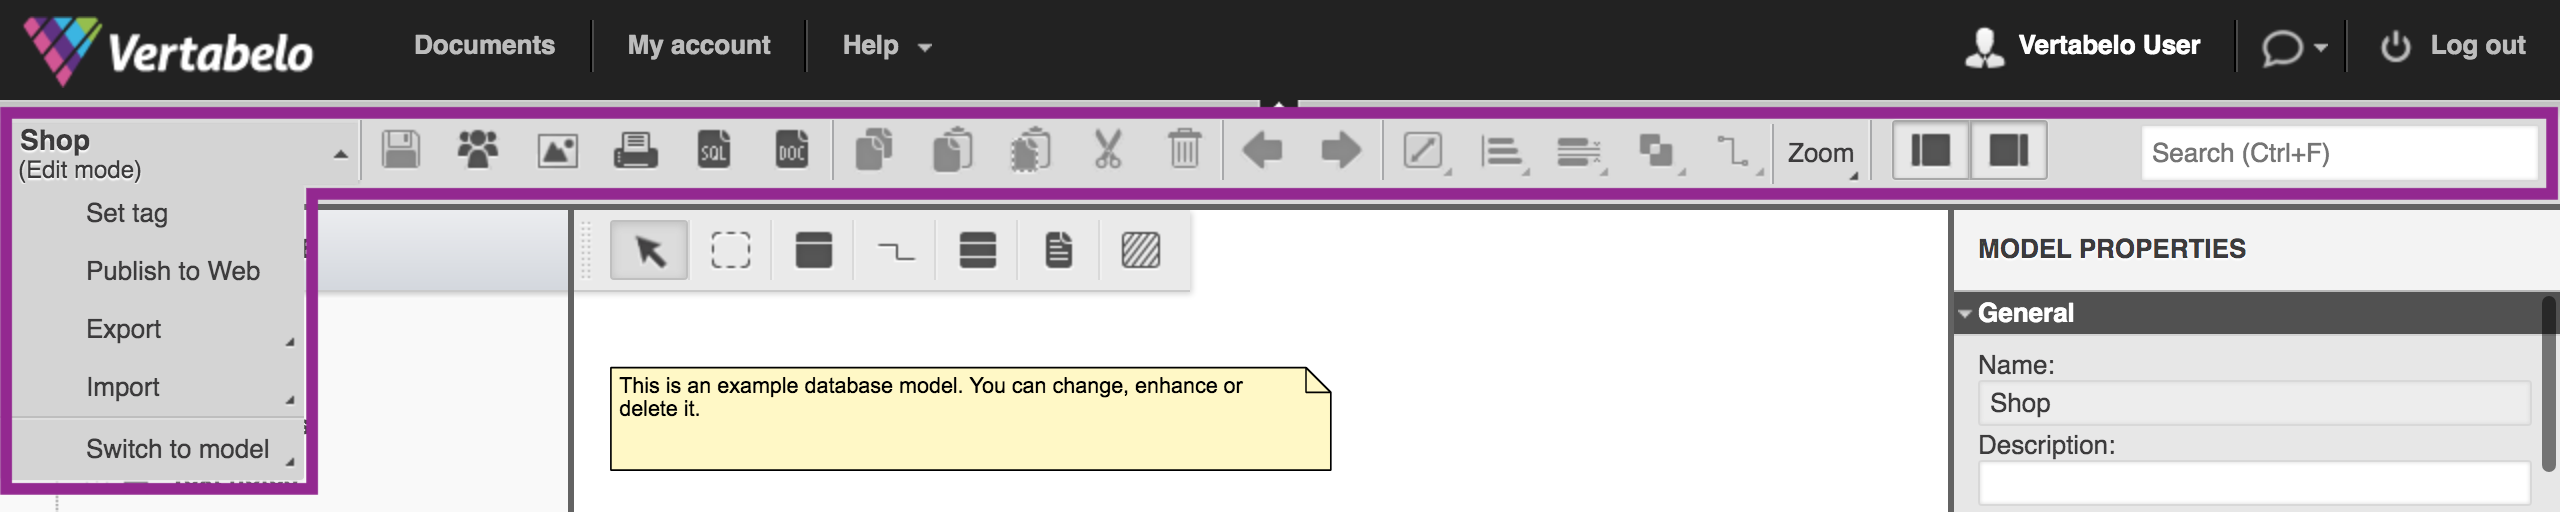
Model Menu
The first thing on the Main Toolbar is the Model Menu. Click on the your model's name, and you'll get a handy menu, which lets you:
- Set a tag for the current version in the version history. Read an article about Version Control, to find out more.
- Publish your model on the web and embed it on your page.
- Export your model to image, PDF or XML.
- Import a model from XML or SQL (you may add some elements or overwrite the model completely).
You may also import your XML or SQL file to a separate file – to do this, follow our Importing guide. Then, you'll be able to copy elements from one model to another (using classic keyboard shortcuts or buttons we write about later in this text.) - Or quickly switch to another model.
File tools

- Save changes (
Ctrl+S) – saves changes in the model you are currently editing. Keep in mind that Vertabelo saves your database model automatically every few seconds and always when you close the diagram, so you don't have to worry about losing your progress. When an autosave is happening, the save icon turns green. - Share this model with your team – you can invite your team's members to share your model with them. There are 3 types of sharing – Owner, Editor and Viewer.
- Export model as PNG image – generates a PNG image version of your model.
- Export for printing (PDF) – generates a PDF version of your model, so you can print it.
- Generate SQL file.
- Generate model documentation.
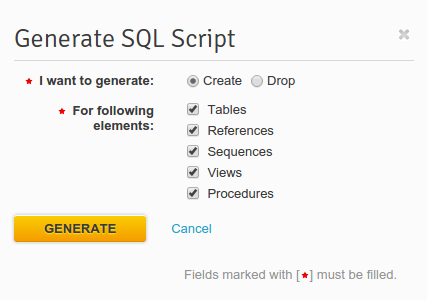
Generate SQL script
To generate an SQL script, you first have to choose whether you want to generate a Create or Drop script and identify which elements should be included in it. Then click Generate.
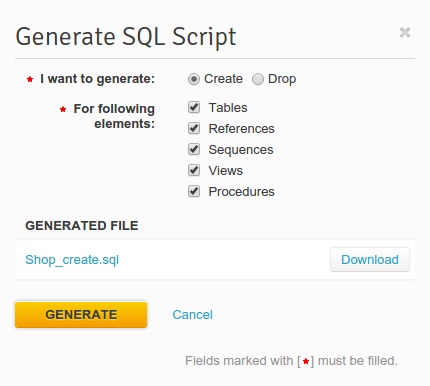
The file has now been generated and can be downloaded.
Export model as XML file
In the menu, click Export » Export to XML, and an XML version of your model will be automatically downloaded to your device.
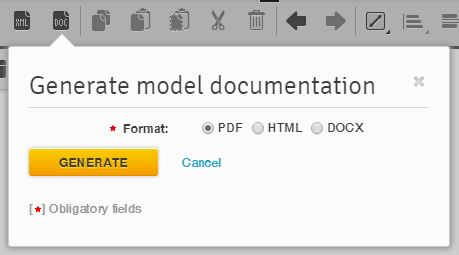
Generate Model Documentation
You can automatically generate documentation for your current model. First, choose a format for the documentation file: PDF, HTML or DOCX. Then click Generate.
Once the documentation has been generated, a new button, Download, will appear:
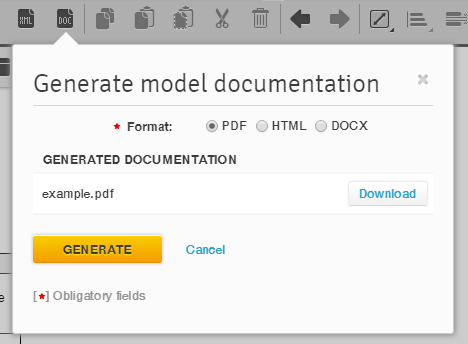
Click on the Download button and your documentation will be downloaded to your computer in the format you've specified.
Diagram tools

- Copy (
Ctrl+C) – copies selected elements. - Paste (
Ctrl+V) – pastes previously copied elements. - Paste as shortcut – pastes previously copied elements as a shortcut.
- Cut (
Ctrl+X) – cuts selected elements. - Delete (
Del) – deletes selected elements. - Undo (
Ctrl+Z) – undoes last action. - Redo (
Ctrl+Y) – redoes last action.
Position tools
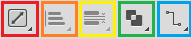
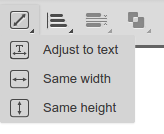
Size
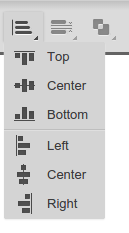
Align
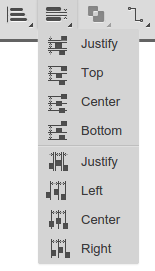
Distribution
Order

References
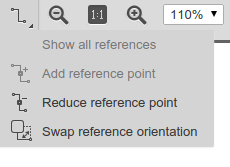
- Show all references – restores all previously defined references for shortcuts.
- Add reference point – adds a right angle to the reference's line.
- Reduce reference point – reduces the number of right angles in a reference's line by one.
- Swap reference orientation – reattaches a reference's line to another side of a table.
Zoom tools

- Zoom out. You may also do it by pressing a
-key. - 1:1 – sets the diagram to its original size.
- Zoom in. You may also do it by pressing a
=key. - Scale – shows you the current scale of the diagram and lets you to change it.
Organize your workspace
Hide main menu
You may do it by clicking on this button:

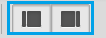
Show or hide panels
You may show or hide left and/or right panel by clicking:
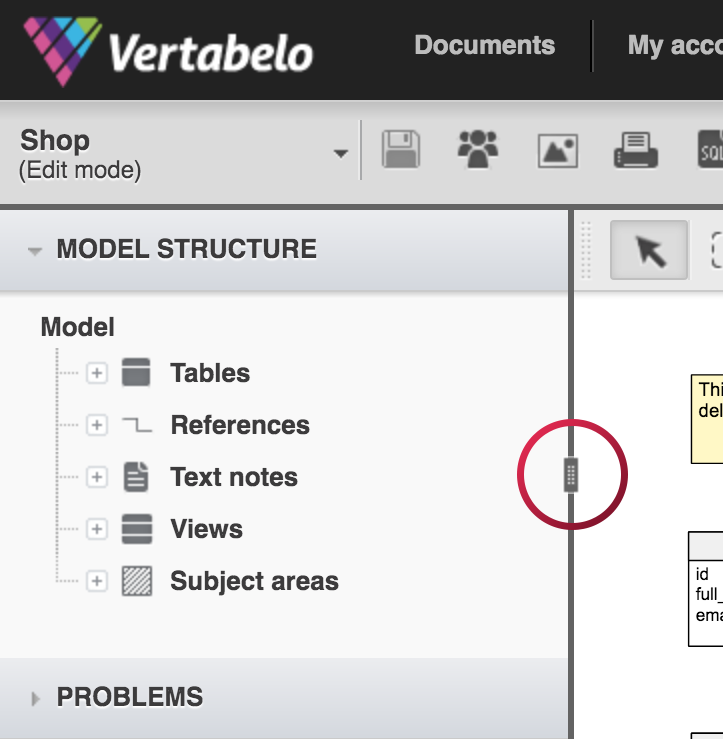
Adjust panels
You may adjust widths of the side panels by dragging this element: